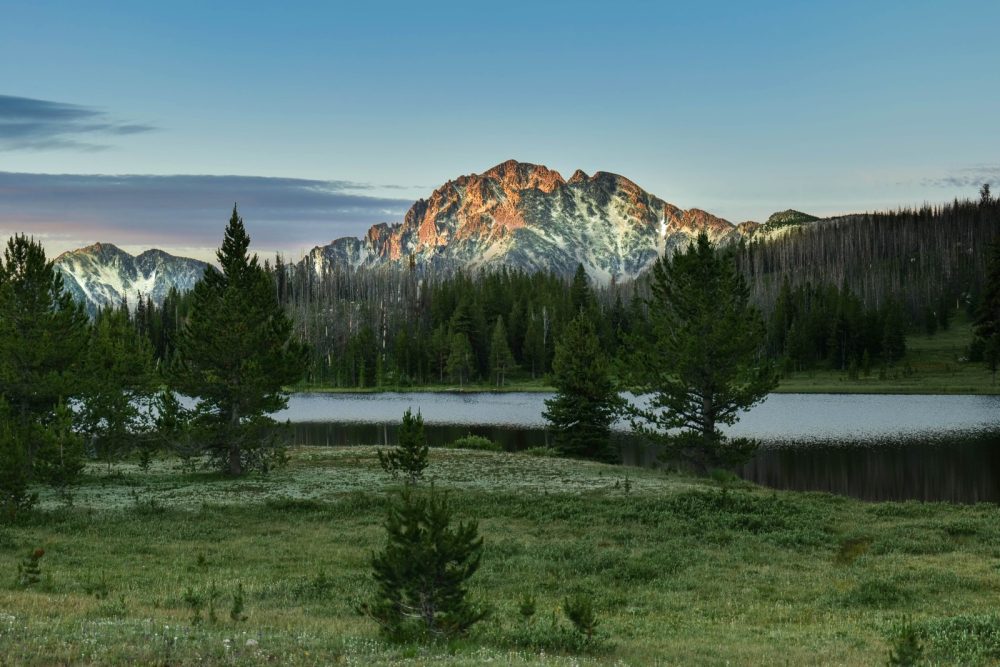
Although often overlooked, navigation is one of the Ten Essentials for a reason. Taking the time to look at a trail map before leaving the barn can help us plan for the ride ahead. Understanding the basic parts of a map will help you ” stay found” and know what’s ahead and around as you navigate safely from trailhead to viewpoint and back home again.
While some may view print maps as outdated compared to modern GPS technology, they are actually an invaluable complement to your GPS device. Electronic gadgets can break, and batteries may fail. A print map doesn’t rely on battery life and is hard to break. My best practice tip is always to double up with both a print and a digital map.
Topographic Trail Maps and Their Value:
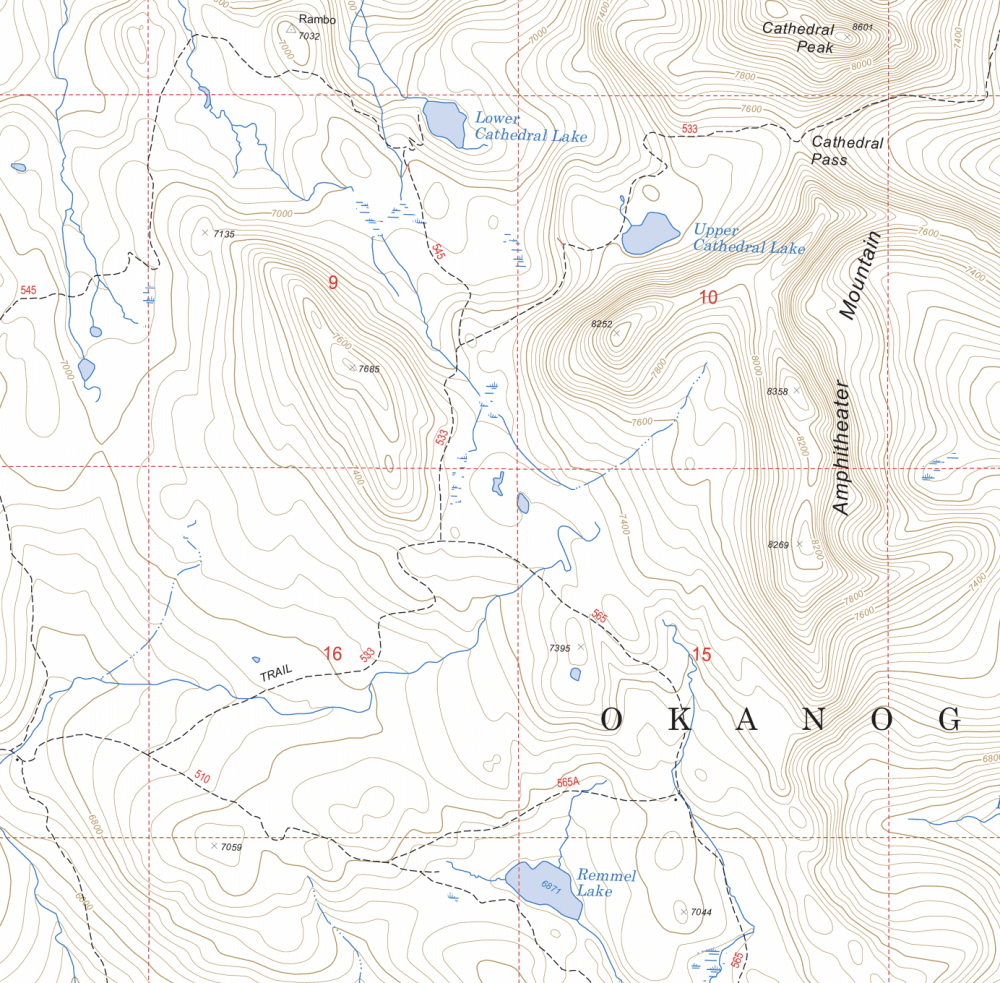
For trail riders, the most beneficial and commonly used trail maps are often referred to as topo maps. Topo maps show detailed information about an area’s geographic features, can help point out places of interest, and provide riders with valuable insights about what to expect.
Studying a topo map allows riders to orient themselves to the surrounding area and navigate through different types of terrain.
Understanding the features of a topo map, such as contour lines, scales, and symbols, is central to safely navigating.
Contour Lines:
It is important to understand the difference between reference maps and navigational topographic maps. Reference maps, such as road maps, are helpful in getting to the trailhead but not always the best resource for navigating the trails.
Contour lines are the element that separates topographic maps from reference maps. By definition, a contour is a line drawn on a map that joins points of equal elevation.
• Contour lines allow the map user to visualize hills, slopes, and mountains in three dimensions.
• The closer together the lines, the steeper the slope. Conversely, the further apart the lines are, the less slope there will be.
• The map legend defines the elevation change between individual lines. Most topo maps use contour intervals of 40ft or 80ft, meaning the elevation change between each line is 40ft or 80ft.
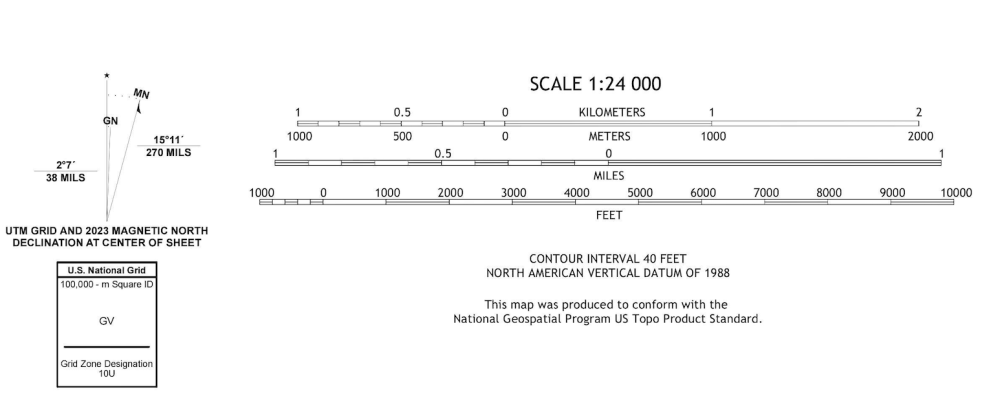
Map Scale:
Map scale refers to the relationship between the distance on a map and the corresponding distance on the ground. For example, on a 1:24,000 scale map, 1 inch on the map equals 24,000 inches (2,000 feet or .38 miles) on the ground. In other words, how much does the distance measured on the map represent in the real world?
Confusing terminology. A common point of confusion with maps is small scale versus large scale and what type of map to use for a given task. In a nutshell, a small-scale map is a map that covers a large geographic area in limited detail, and a large-scale map covers a smaller area but in more detail. A Rand McNally Road map is an example of a small-scale map. It gives you all the info you need from the barn to the trailhead but not enough to plan a ride. A typical USGS quadrangle at a scale of 1:24,000 is an example of a large-scale map that is excellent for planning a ride in a given area but not too good for trailering across the state to get to the trailhead.
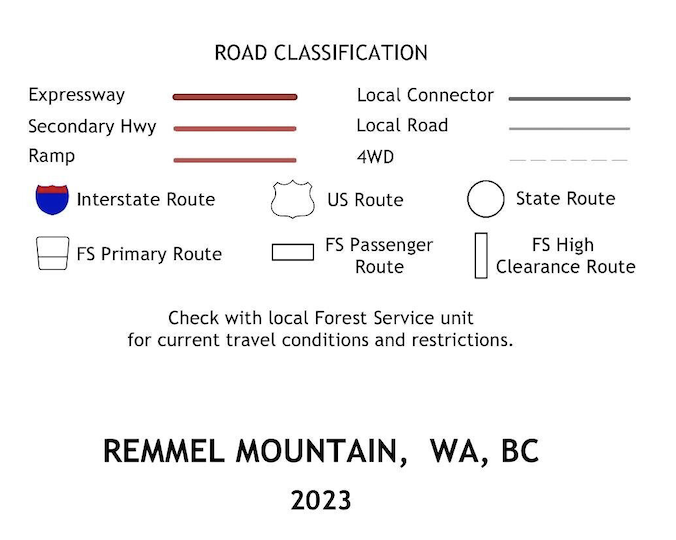
The Legend:
A map’s legend is a description or table of symbols that details the features on the map. An example of this is campsites denoted with a point, rivers as blue lines, and trails as dashed lines. The legend identifies the various points, symbols, and colors and serves as what I like to think of as the map’s operations manual.
Prior Preparation:
Before heading out on a new trail, use a map to practice familiarizing yourself with a known area. I like to look at three main features.
• Contour lines – Examining contour lines will tell you whether your horse will be scrambling up a steep slope or trotting through a flat meadow.
• Scale – Using a piece of string, you can calculate how far away the trailhead is from the perfect lunch spot. A general of thumb is 3 miles per hour. Of course, this varies by horse. My mules’ favorite speed is whoa!
• Identify points of interest—Use the map legend to identify campsites, mountain peaks, and lakes. By identifying these points on the map and in real life, you can quickly orient yourself on the trail. Knowing how to do so will ensure you’re back in time for dinner.
On the Trail:
Anytime I come to a trail junction, river crossing, or other well-defined area, I try to locate myself on the print map. Doing so lets me ask and answer a few fundamental questions about the ride. Such as:
• Where is the nearest trailhead?
• How far is the next water source?
• How many miles to my next campsite?
• How long till dark?
A basic understanding of how to read a map will allow you to answer all these questions and more. Knowing how to find the answers to these basic questions will keep your rides safer and improve your odds of making it home in time for dinner.
Visit www.TrailMeister.com for more practical information on better trail rides and horse camping adventures and the world’s largest and most comprehensive guide to horse trails and camps.