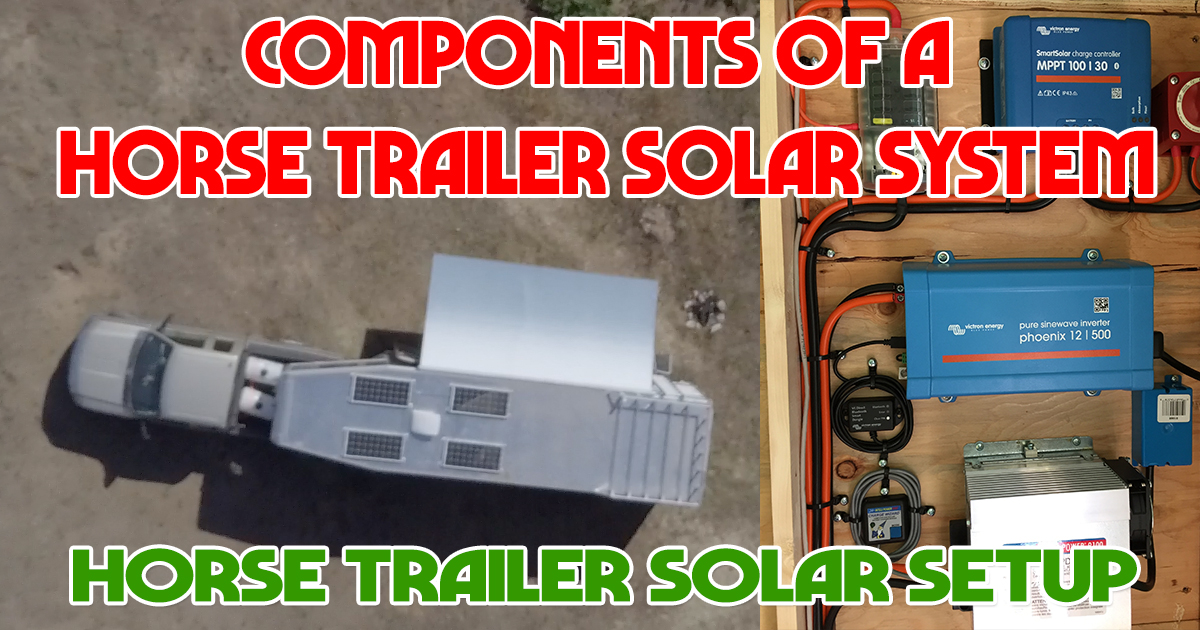
My Horse Trailer Solar Setup
When we started planning the Trailer Project one of the very first things that we looked into was solar power. The majority of places that we camp and those areas that are still on the bucket list, don’t have electric hookups. I wanted to avoid noisy generators and hauling the fuel for said noisy generators.
 A solar power system works from dawn to dusk, silently, odor free, without fuel, no matter where you are or what you are doing. Rolling down the road, parked at the gas station, or camping, the batteries are being charged. They start charging before you feed the horses, keep charging while you ride, and continue all day. They don’t quit until nightfall. You never have to think about the batteries being charged. It just happens. Like magic.
 Magic does require some planning. Not having experience with solar power systems I called AM Solar in Oregon for help. AM Solar has decades of experience in designing and building RV solar systems. I figured if they can make solar work in the rainy, cloudy, Pacific Northwest, they can make it work on the roof of my horse trailer.
Horse Trailer Solar Setup
What Do You Want to Power?
The first questions from AM Solar were all about what I wanted to operate in the trailer. I thought I knew want I wanted; a few lights and charge the phone and camera batteries. Fortunately, Garret and the crew have set up thousands of RV’s and were able to remind me about all the other stuff that needs a few watts: the vent fan to keep the LQ space from getting stuffy, the cell phone signal booster, are you planning on using your laptop in the trailer? All items that I didn’t think about. I’m glad they did. Once we narrowed down what things we wanted to run it was time to determine how many watts of power we’d need to make the magic happen.
Solar panels are typically rated and sold in Watts. Electrical loads are also typically rated in Watts (you can usually find the wattage printed on electrical appliances). But batteries are typically rated in amp-hours. Since we’re trying to balance things from an energy in = energy out standpoint, we need to be able to convert the figures. Fortunately, the equation is easy: Watts = Amps * Volts.
It’s All About the Batteries
Once we narrowed down what devices we wanted to run I was surprised to discover that in solar systems it’s not the solar panels that are the key player, it’s the batteries. The solar panels might be the sexy leading ladies that get all the attention, but it’s batteries that work in the background, silently keeping everything running smoothly. The only thing that’s there for you all the time is your battery. The battery is what stores the energy produced by the solar panels so that you can have reliable power once the sun goes down.
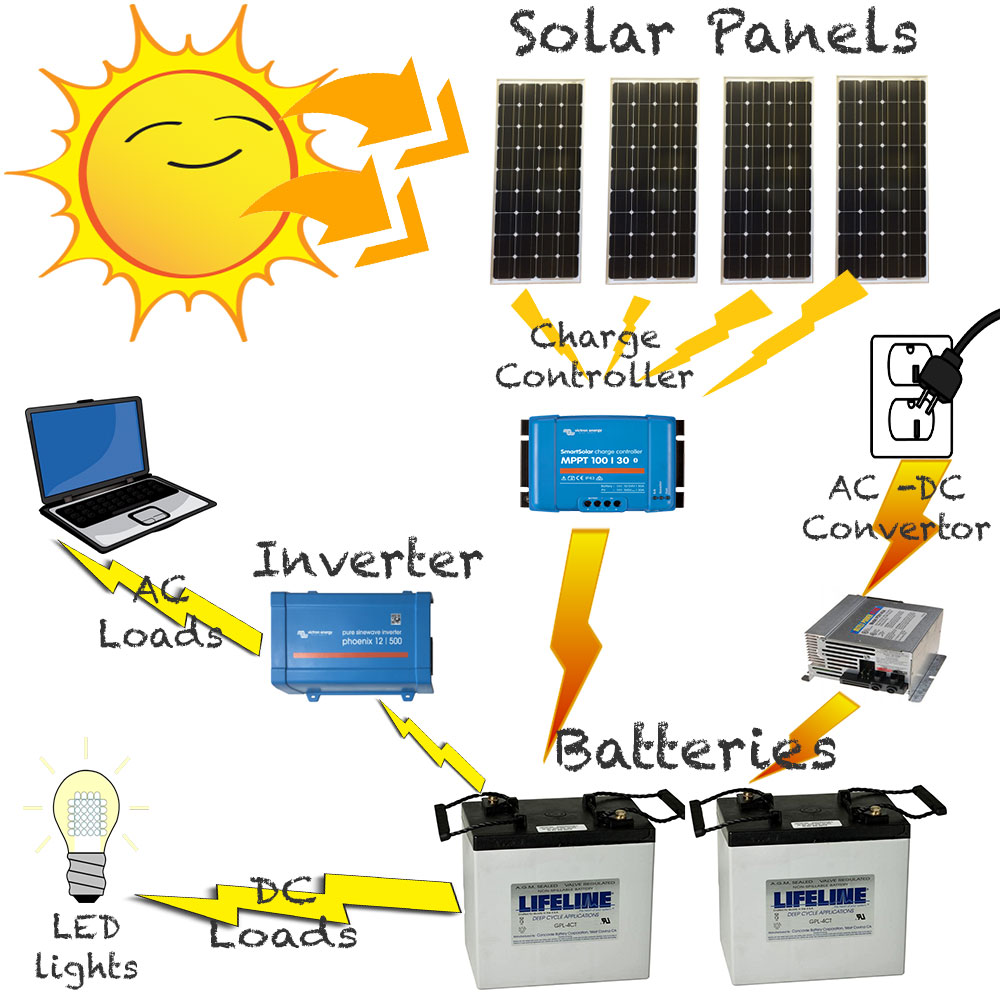
That being said here’s the major components of our system:
- 2 220Ah AGM batteries with monitor
- 4 100 watt solar panels
- Solar Charge Controller
- 500w Pure Sine wave Inverter
- AC – DC convertor
1 – Batteries
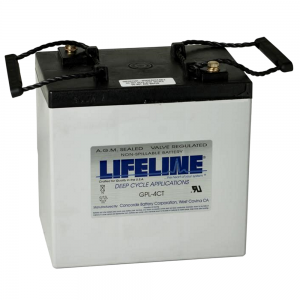 The first item in the Horse Trailer Solar Setup and the heart of your solar power system. There are two main types of batteries that you’ll find in trailers and RV’s. The first is lead-acid. These batteries have been around forever, and though there have been new ways to dress it up (AGM batteries, Gel cells), they’re all basically the same for the purposes of this discussion. The second type is the lithium battery. This is a new type of battery that uses a completely different chemistry from lead-acid batteries, and requires different charging methods. They’re also much more expensive than lead-acid batteries. For my needs, AM Solar recommended the AGM style of Lead Acid which are maintenance free, reliable, and the standard in RV energy storage.
NOTE: To get the longest life out of your batteries, it’s a good idea to observe the “50% rule.” This means that you shouldn’t discharge these batteries below 50%. They won’t blow up if you discharge them more, but you will find yourself replacing them sooner. The Battery monitor helps save my batteries and my $.
2 – Solar Panels
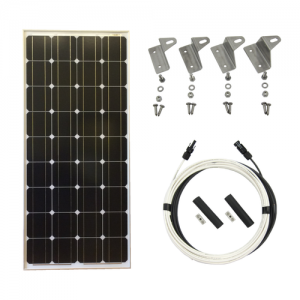 When you’re browsing for solar panels, you’ll find that they come in many flavors. Monocrystalline, polycrystalline, flexible, flat, tilting, etc. Does it matter which kind you get? Maybe. Garret put together a 400 watt system that was cost effective and does everything that I need without extra expense. We went with the tried and true for everything we put on. For example: We used four 100w flat monocrystalline panels mounted flat to the roof of the trailer. Monocrystalline panels are less expensive than poly panels, but slightly larger in size. A horse trailer as plenty of roof space so that was no problem at all.
Estimating Solar Output
You can buy a 100 watt panel, but you won’t get 100 watts out of it. There are a LOT of factors that can impact a solar power system. Here are a few:
- Time of Day
- Panel Tilt
- Weather/shade/sun/clouds
- Dirt in the air
- Dirt on your panels
- Efficiency of components
- Temperature
So with all those things affecting the solar energy output, how are you supposed to get a handle on how much energy you’ll get? Here’s a general rule of thumb: A 100 watt panel will generate 30 amp-hours per day. It’s not a perfect figure. The number will be higher in the summer, or further south. The number will be lower in the winter, or further north. But if you like to work in nice round numbers, and I do – 30 is a fair number.
3 – Solar Charge Controller
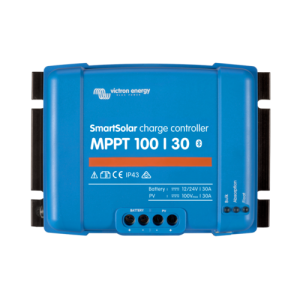 A charge controller goes between the solar panels and the battery bank and functions to prevent the solar panels from overcharging the batteries. Solar panels produce up to 20 volts of electricity from the sun. Your batteries are 12 volts. A solar charge controller is basically a regulator that keeps your batteries from overcharging. Modern charge controllers come in two types, PWM (Pulse Width Modulation) and MPPT (Maximum Power Point Tracking). Garret at AM Solar explains the two types with a car analogy. A PWM charge controller would be like a manual transmission, and an MPPT controller is an automatic transmission. We went with an MPPT type which although a little more expensive gives us more power from the panels.
4 – AC to DC Convertor
Even though we’re producing power from the sun there are times when being able to plug into shore power is a good thing. Namely when I’m storing the trailer in the barn over winter. The convertor keeps the batteries topped off when the trailer is being stored indoors.
5 – Inverter
Now that we’ve talked about getting energy into the horse trailer solar setup let’s consider how we’re going to get that power back out and in use.
Most of what the loads that I wanted to run (LED lights, vent fan, etc) can operate off of DC (12v) power but some items, mostly electronics, need 120V AC power like we have at home. For those devices we need an inverter to turn the DC power from the batteries into clean house power. What’s the big deal with a pure sine inverter? A pure sine inverter creates clean household power. Basically if you can run it at home it will work in your trailer. Modified sine wave inverters are less expensive but can be hard on electronic devices (like your smartphone, laptop, or other mobile devices), which need clean power. I learned this the hard way a few years ago when I tried to recharge some camera batteries with a cheap invertor.
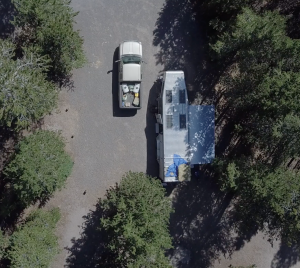 There you go the five main components of my Horse Trailer Solar Setup. After having this system for nearly a year now, I can say without reservations, I love it. Being self-contained is liberating and frees us to travel nearly anywhere we want. We love being able to pull in somewhere and know that we can generate our own power, store enough water & waste for weeks – and not feel we’re lacking anything.
Other than occasionally dusting the solar panels there’s no maintenance to worry about and no fuel to haul, filters, to replace, and no noise. Silence is golden.
For more information on the Horse Trailer Project including videos of the build, interviews with the companies that made the equipment and much more visit www.TrailMeister.com


