Adding the Routes of Your Favorite Rides is Easy!
The miracle of science, and GPS technology, gives you the ability to record a ride in detail; where you rode, how far you went, and even how fast.
There are several ways to capture a GPS route (track). We recommend capturing your routes on a GPS device. High-end GPS devices tend to record tracks more faithfully and have better battery lives than most mobile phones. However, if you prefer a less technical and simpler method, there are many applications available for both Android and IPhone devices which will allow you to capture a route using your mobile device. Here’s a list of apps that we’ve tried and like.
After you’ve chosen your preferred method of collecting route data the rest of the steps are easy peasy!
#1 Go for a Ride – Before leaving the trailhead remember to to turn on your GPS unit and start recording. Upon returning to the trailhead save your route (track) file.
#2  Post Ride – Download your route file from your GPS unit, or app, to your computer as a .GPX file. How you accomplish this will depend on which device or app that you use.
#3 Upload Your Route on TrailMeister – Once you have your route file on your PC it’s 3 quick steps to add it to your TrailMeister account.
A – Pull up the Trail Area where you rode from either the home page or the main trail search page. Area not listed? Add it!
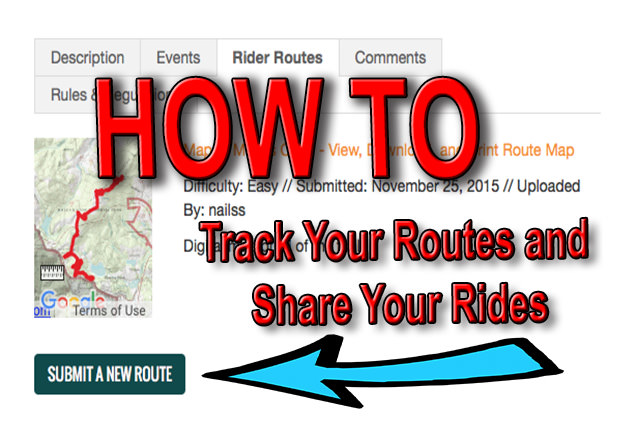
B – Click on the “Submit New GPS Track” tab.

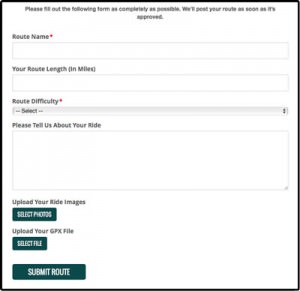
C – Upload Your GPX file. You can even add pictures and your ride descriptions.
