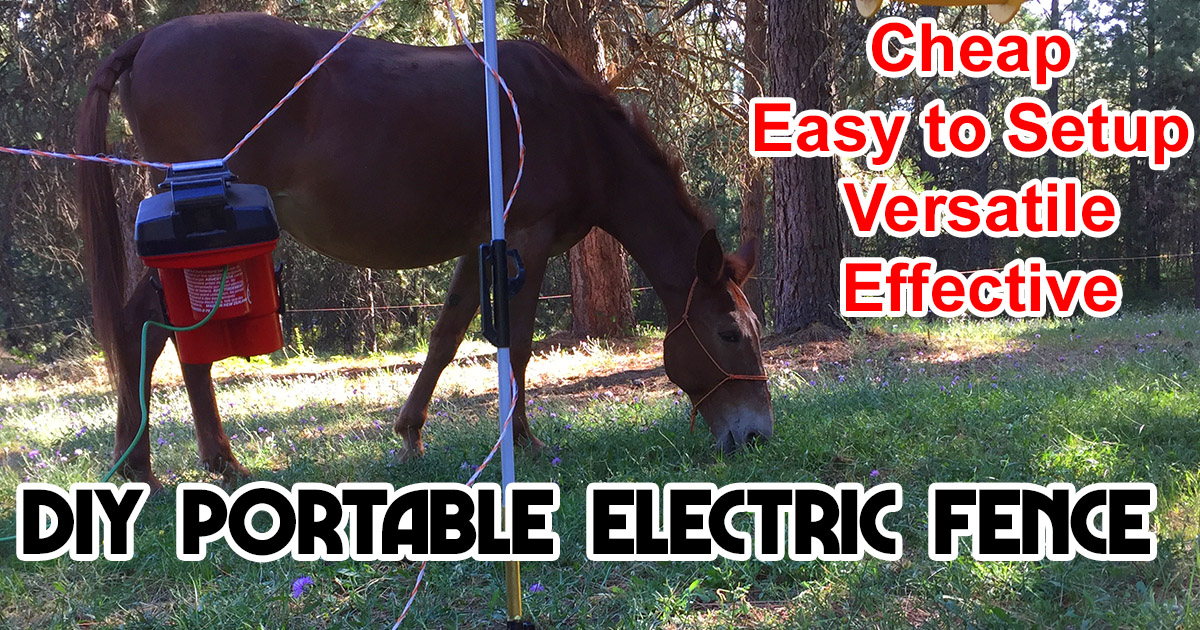
DIY Portable Electric Fence
Horse camping is good. Backcountry horse camping is great. A backcountry wilderness location with a spot where your horses can stretch their legs, lie down, take a nap, graze, and relax is even better. A portable electric fence can help with that.
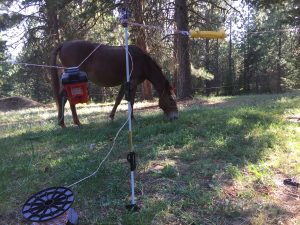 When camping in the backcountry I don’t take feed. The amount of hay, pellets, etc. that you’d have to take to feed even a single animal. 2% of body weight per day per horse foots out to on average 20 lbs a day would mean taking a pack animal to haul the feed and then yet another to haul the feed for the extra critter. I plan my trips based upon the availability of adequate graze, and have cut pack trips short due to an unexpected lack of grazing.
For years the morning routine has been; get up, release the beasts from the highline, take them to water, then put the hobbles on and let them graze for their breakfast while enjoying my AM caffeine fix. Only after they’ve had their breakfast do I get mine. I want to be able to let the bubbas graze and relax while also getting meals ready for myself and whomever else I’m camping with. I like being the camp cook.
For trailhead camping I love my Corrals2Go portable corral but I’m not ready to pack-in hundreds of feet of steel panels. For backcountry use I’ve become fond of electric fences that keep our furry kids out of trouble. Cheap, easy to setup, versatile, and effective are my keywords for this type of temporary enclosure.
Here’s how to get started on your own electric fence setup:
What you need:
- Posts: I use fiberglass step-in style posts. 4′ Sunguard II Fiberglass Step-in Electric Fence Post – https://amzn.to/3kCrASv
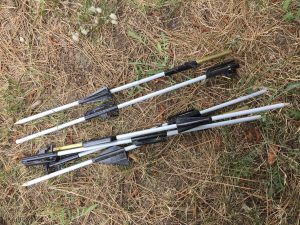 Post modification: 48” posts are much too long for convenient packing for me. I turned mine into collapsible posts by cutting the posts in half then epoxying (Gorilla epoxy glue – https://amzn.to/30MW7oG ) a piece of brass tubing over the end of one half, leaving part of the tube open to slide the top half of the post into. With this modification, the posts fit easily into a pannier box.
- If I were to do it again: I’d use a smooth fiberglass post without the clips and simply wrap the electric wire around the post to keep it from sliding down. The posts would pack down into a much small space. Smooth fiberglass post without clips – https://amzn.to/2PKdWOO
- Electric tape or wire: I went with electric fence wire – https://amzn.to/2DJoA64
- Tape with imbedded conductive metal strands comes in 1/2 to 2 inches wide, in white and colors. It’s highly visible (1/2 inch tape – https://amzn.to/30OAy79 ). Wider tape makes a more substantial fence, but it’s more expensive, and the wider widths take up a lot more space. Wire is less expensive, and packs easier, but breaks more easily. It’s also less visible than the tape. Flagging on the wire could be a good idea.
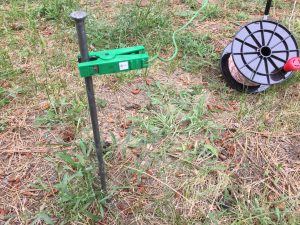 Winder reel: One experience with a knotted ball of electric tape was enough to convince me that an easy way to roll the electric tape or wire without knots was a must. I went with an inexpensive winder that makes setup and tear down quick and easy. Wire winder reel – https://amzn.to/33Zl7ei
- Gate handle: An insulated handle with metal spring core, a hook at one end, and loop at the other for connecting tape or wire, creates a gate at any point in the pen perimeter. Plastic gate handle – https://amzn.to/3fNYbBi
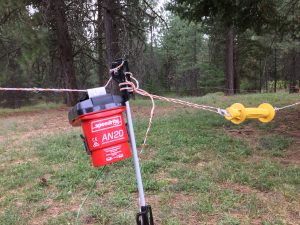 Fence energizer: The heart of the containment system. An electric fence needs a power source and unless your wilderness comes equipped with “current bushes”, battery or solar are your options. Battery powered versions are less bulky than solar. Mine runs on 2 D-cell batteries and can power over a half mile of fence for over a month. Speedrite AN20 Battery Fence Energizer, 0.04 Joule – https://amzn.to/30MNmuX
- Ground rod: Since the earth creates half of the electric fence circuit, it is very important to have a properly installed ground circuit. I had a 24” steel rod in the barn that I repurposed.
- NOTE: In areas where poor soil and poor earth grounding conditions exist, a two-wire system can be used with one wire being electrically charged while the other wire acts as earth ground. This two-wire electric fence system is also twice as visible.
Of course nothing is perfect. Here’re the pros and cons of this type of system:
PRO:
- Flexibility – Size and shape can be modified readily to fit available space.
- All of the parts listed above foot out to well under $200 dollars.
- Easy storage and handling. One person can easily set up and take down. Tape or wire rolls up for storage. Posts bundle together.
CON:
- Easily demolished. A horse panicked by a disturbance nearby, can forget his reluctance to touch the fence and bolt through the wire or tape
- It only works with the charger on. Many horses can tell when the fence is electrified and are quick to lean over it when it’s not (one reason why a spare battery is a good thing).
An electric fence of this type is purely a psychological barrier to keeps your animals from wandering. They’ve become “trained” ( hopefully at home) not to go near the fence. The local wildlife has not had the benefit of this training and is apt to bolt through a hot wire instead of backing up. For this reason I DO NOT use electric fences overnight. The highline is a much safer, more secure option for nighttime or when you’re not nearby, unless you like walking back to the trailhead.
For me a portable electric fence system offers me and my animals more options and a better camping experience with very little extra fuss.
I hope that this helps explain another way to hold your horses and helps you to get out and explore! For more information on trail riding and camping with horses, as well as the largest guide to horse trails and camps in the world visit us at www.TrailMeister.com


